Installing a glass with railing system might look like a job for pros only, but many homeowners with basic tools and a good plan can handle it themselves. Below is a straightforward guide that includes visuals for each step (described as illustrations), so you can understand the process before picking up the drill.
Measure and Mark Your Layout
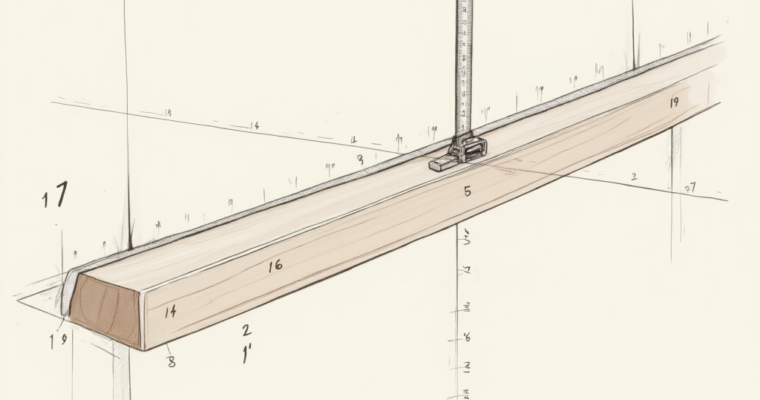
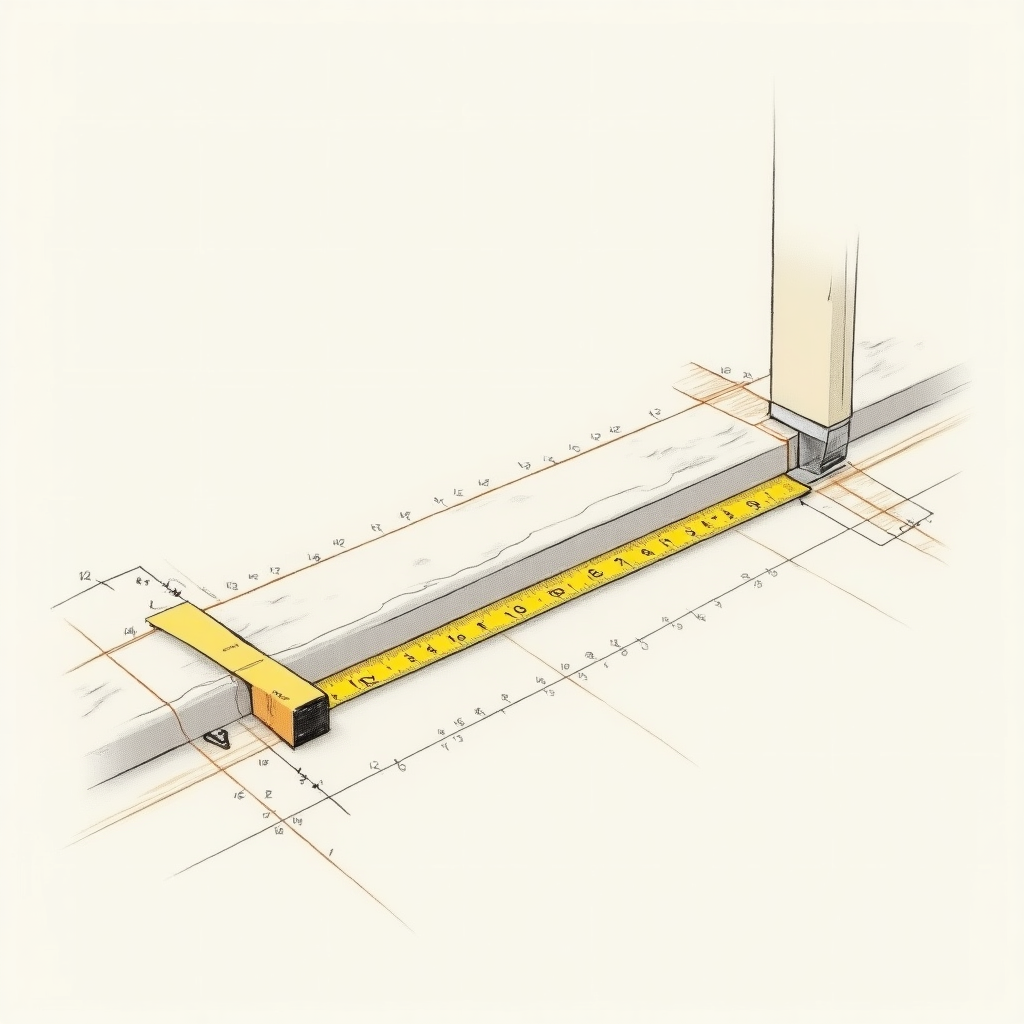
Before you begin, measure the total length of the area where the railing will be installed. Mark post positions on the surface using chalk or masking tape.
Step 2: Secure the Base Posts
Using a drill, secure the aluminum or stainless steel posts to your deck, stair, or concrete surface. Ensure the base plates are level and tightly fixed.
Step 3: Attach Post Brackets or Channels
Depending on your system, either side-mount brackets or top-mount channels will hold the glass. Attach them securely with bolts, ensuring correct alignment.
Step 4: Insert the Glass Panels Carefully
Place tempered or laminated glass panels into the mounted brackets or channels. Use suction cups for better grip and to avoid touching edges with bare hands.
Step 5: Add Rubber Gaskets and Secure Caps
Once the glass is in place, insert rubber gaskets or spacers to stabilize the panels and reduce vibration. Then, add top caps or cover plates if included.
Step 6: Final Adjustments & Safety Check
Check alignment and tighten all screws. Clean fingerprints off the glass and make sure the entire system feels solid with no rattling.
Tips for Success
Use safety gloves and goggles during installation
Always check with local building codes before beginning
For decks over 10 feet high, consider laminated glass for extra safety
Don’t over-tighten brackets—glass needs room to expand slightly in heat
Conclusion
Installing glass with railing is easier than you think—especially when you break it down step by step. With some patience, the right materials, and these visual instructions, you can achieve a professional, modern look that’s safe, durable, and full of light.